

© 2026 Renderkey. All Rights Reserved
How 3D Rendering Works: A Practical Guide for Real Estate, Architects, Interior Designers & Developers
How 3D Rendering Works: A Practical Guide for Real Estate, Architects, Interior Designers & Developers
Imagine planning a property that exists only on paper. You have the floor plans, architectural drawings and material selections ready, but your client is still struggling to picture the finished space.
This is where 3D rendering comes in.
Think of it as a photograph of a property that hasn’t been built yet. Using digital models, materials, lighting and specialised software, a 3D artist creates visuals that show how a proposed building or interior could look once completed.
For real estate developers, architects and interior designers, these visuals make it easier to present ideas, discuss design choices and help clients understand a project before construction begins.
How Does the 3D Rendering Process Work?
Creating a 3D render involves several stages, from understanding the project requirements to producing the final image. Each step contributes to how accurately and effectively the design is represented.
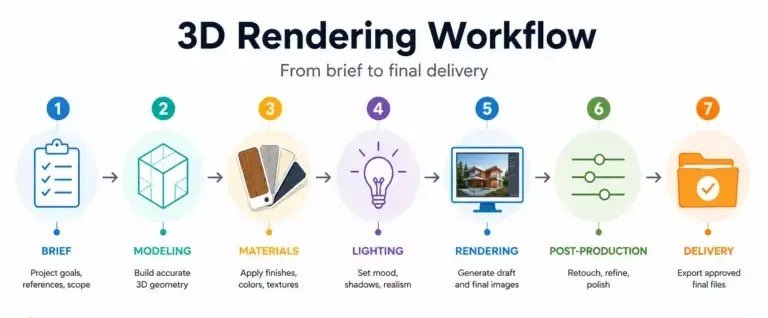
Step 1: Understanding the Project Requirements
Before creating anything, the artist needs to understand the project and what the visuals are expected to communicate.
This starts with reviewing architectural drawings, floor plans, dimensions, reference images and material specifications. Existing files from software such as AutoCAD, Revit or SketchUp can also be used.
For example, a real estate developer launching a residential project may need exterior views to showcase the building, interior visuals to present apartment layouts and landscape images to illustrate the surrounding environment.
Establishing these requirements upfront helps determine the number of views, visual style, deadlines and final deliverables.
Step 2: Creating the 3D Model
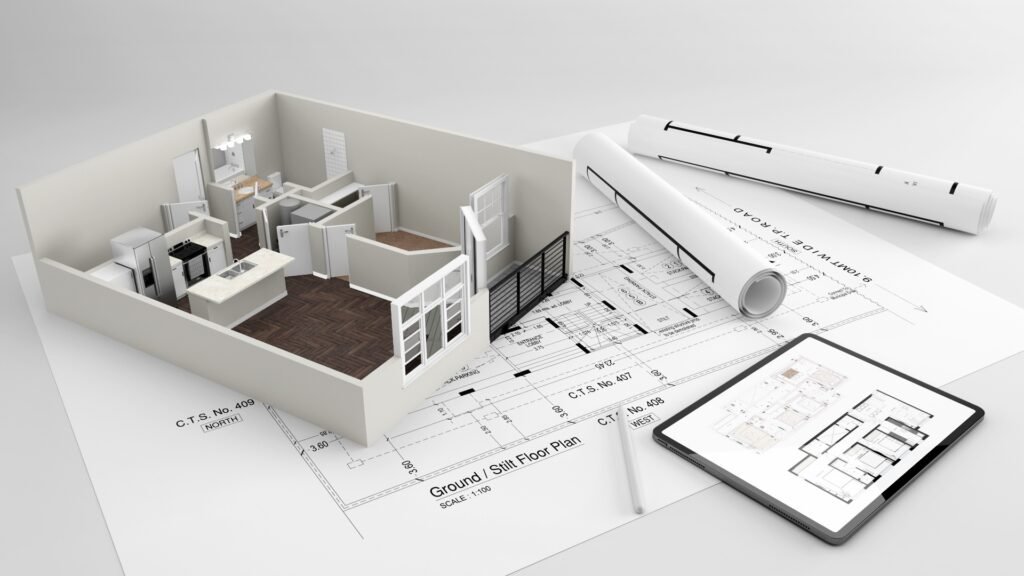
With the project information in place, the artist creates or prepares a digital three-dimensional model of the proposed space.
For a residential property, this may include walls, windows, balconies, staircases, furniture and other architectural elements. The model follows the available drawings and dimensions to represent the intended design.
Accuracy is important at this stage. Incorrect measurements or missing elements can affect the appearance of the final visuals and may lead to additional revisions later.
Step 3: Applying Materials and Textures
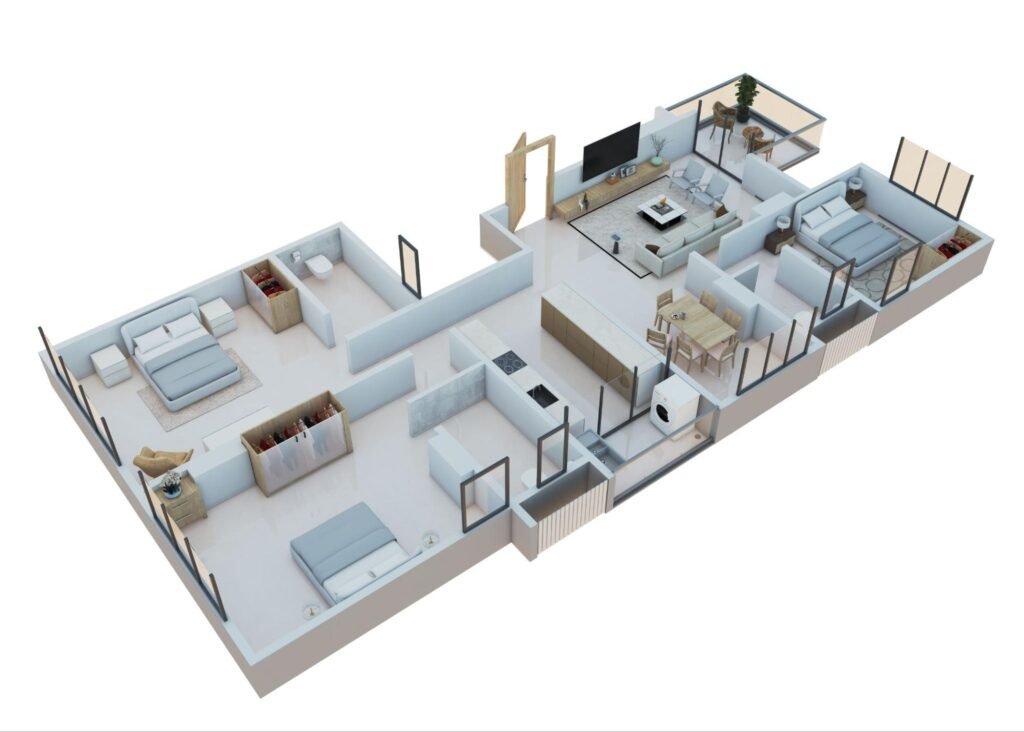
Once the model is ready, the artist begins defining how its surfaces will look.
Consider the difference between a polished marble countertop, a wooden floor and a concrete exterior wall. Each material has its own colour, texture, finish and reflective properties.
The artist adjusts these characteristics to represent the materials specified in the design. This helps clients understand how different finishes may look together and makes it easier for interior designers to present material combinations before implementation.
Step 4: Setting Up Lighting and Camera Angles
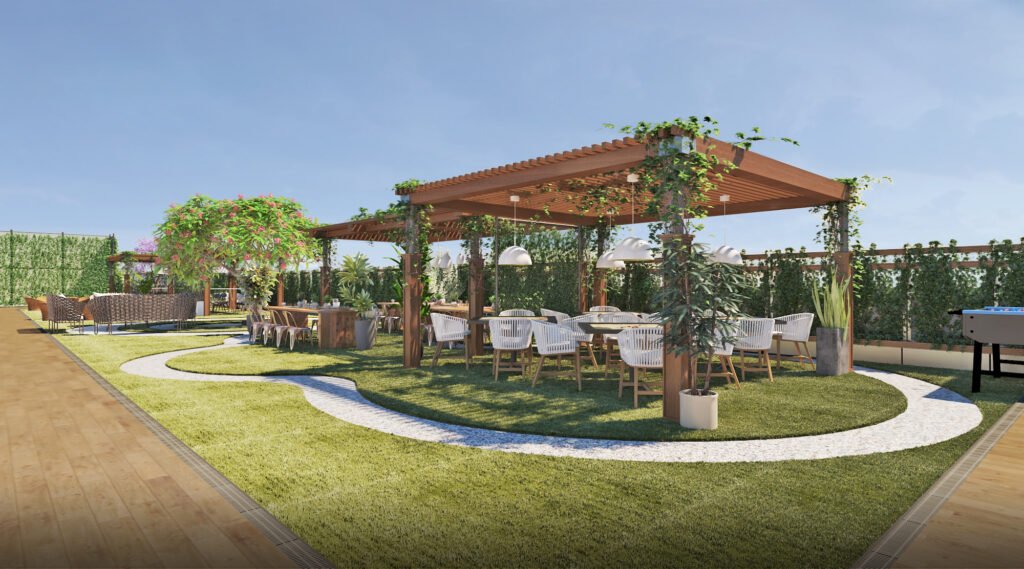
Lighting and camera placement determine how the space is presented to the viewer.
The artist uses digital light sources to recreate conditions such as natural daylight, sunlight entering through windows or artificial interior lighting. These choices influence shadows, reflections, depth and the overall appearance of the scene.
Camera angles are selected according to the purpose of the visual. A wide-angle view can communicate the layout of a living room, while a closer view can draw attention to a specific design feature. Exterior cameras may focus on the façade, entrance or landscape.
Together, lighting and composition help communicate the design in a clear and visually engaging way.
Step 5: Rendering the Scene
Once the model, materials, lighting and cameras are ready, the scene is processed using rendering software.
The software calculates how light interacts with different surfaces to produce effects such as shadows, reflections and indirect illumination. These calculations turn the prepared digital scene into a two-dimensional image.
Rendering time varies depending on the complexity of the scene, image resolution, lighting setup and computing resources available.
The artist then reviews the output and makes any necessary adjustments before moving to the final stage.
Step 6: Refining and Delivering the Final Visuals
The rendered image may need finishing adjustments to colour, exposure, contrast and other visual details. The artist checks that the final output meets the project requirements and follows the approved design direction.
Depending on the brief, deliverables may include high-resolution images for brochures, web-ready visuals for property websites, presentation images or animation sequences.
If the project requires a more immersive experience, the digital environment can also be developed into an animated walkthrough or interactive visualisation.
Why Does Understanding the Process Matter?
Each stage influences the final result. Clear project information helps establish the right foundation, accurate modelling represents the intended design, and carefully chosen materials and lighting bring the visuals together.
For clients, understanding the process also makes collaboration easier. Sharing complete references, reviewing draft images and consolidating feedback can help avoid unnecessary revisions and keep the project moving forward.
How 3D Rendering Brings Unbuilt Spaces to Life
From presenting a residential development to visualising an interior before renovation, 3D rendering helps turn design ideas into something people can see and understand.
It gives developers a way to showcase properties before construction, helps architects communicate their vision, and allows interior designers to present their ideas with greater clarity.
Ultimately, understanding how 3D rendering works helps you make better use of it—from the first design brief to the final visual that brings your project to life.